II.2.2 Pompeii. House of Loreius Tiburtinus or House of D. Octavius Quartio.
Excavated 1916, 1918, 1921, 1933-35 and 1973. Linked to II.2.5.
Part 1 2 3 4 5 6 7 8 9 10 11 12 13 Plan
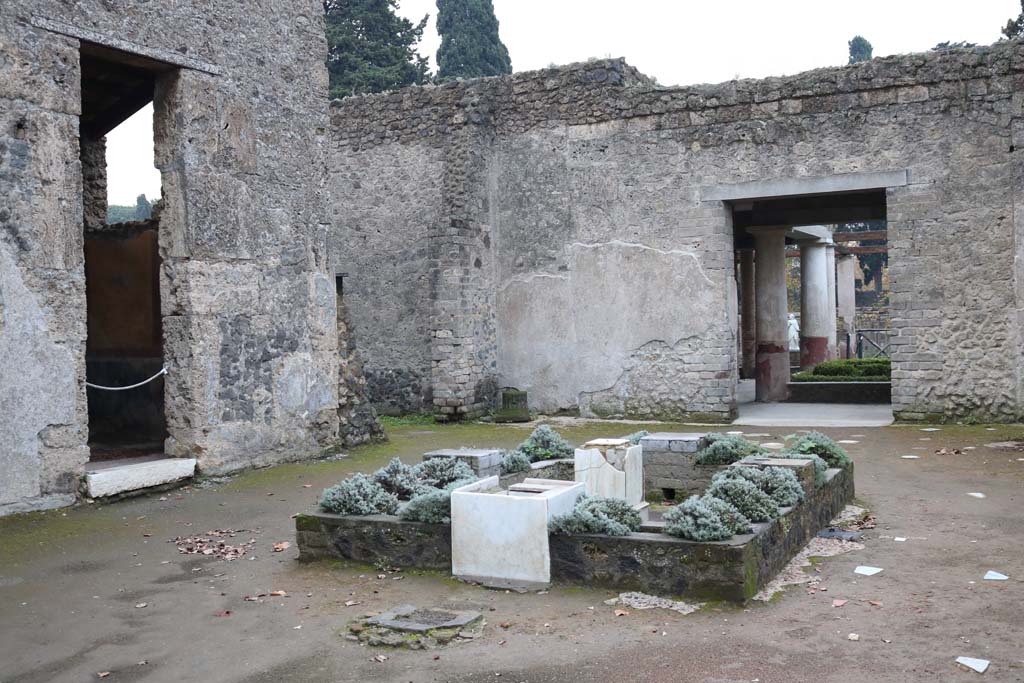
II.2.2 Pompeii. December 2018. Looking south-east across
atrium. Photo courtesy of Aude Durand.
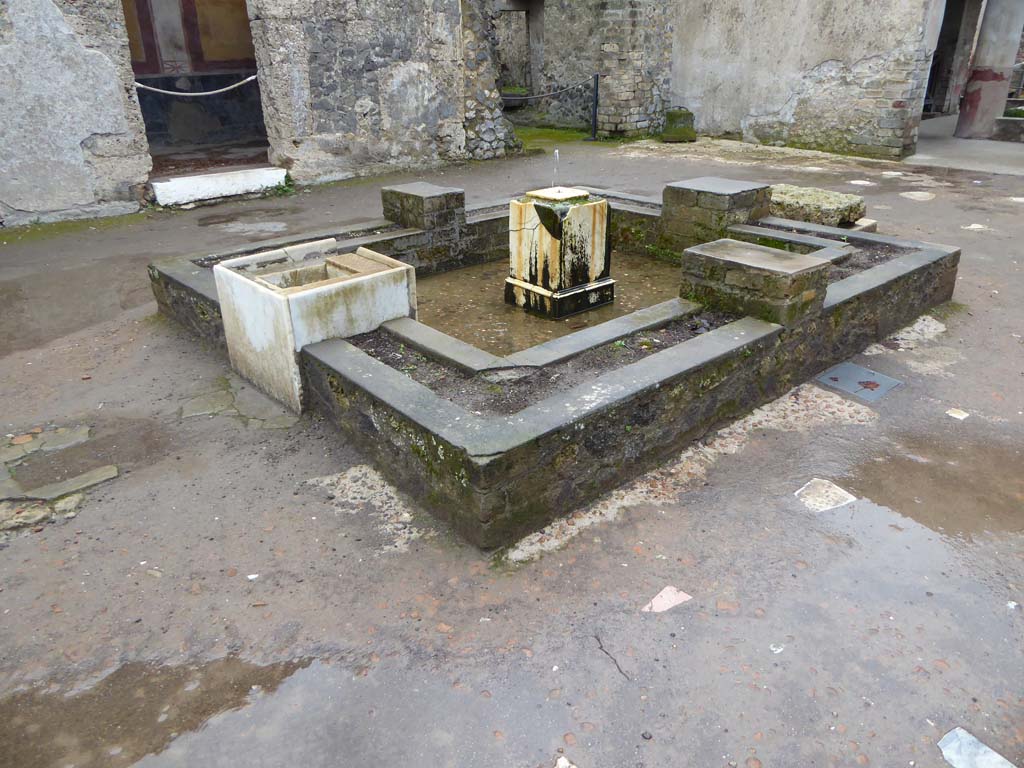
II.2.2 Pompeii. January 2017. Room 2, looking south-east
across impluvium in atrium.
Foto Annette Haug, ERC Grant 681269 DÉCOR.
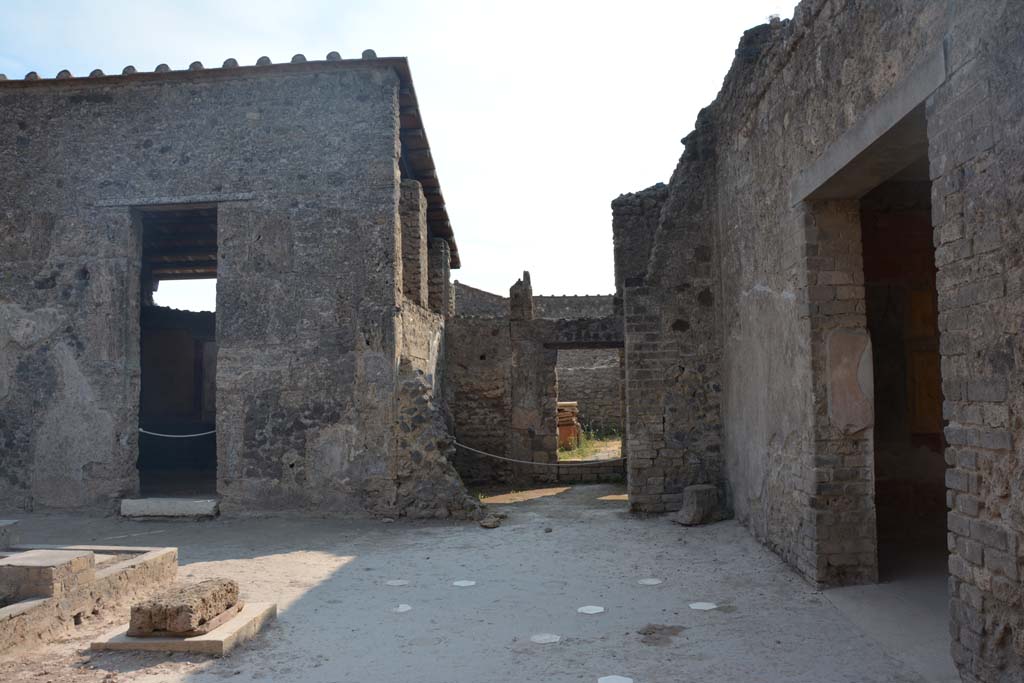
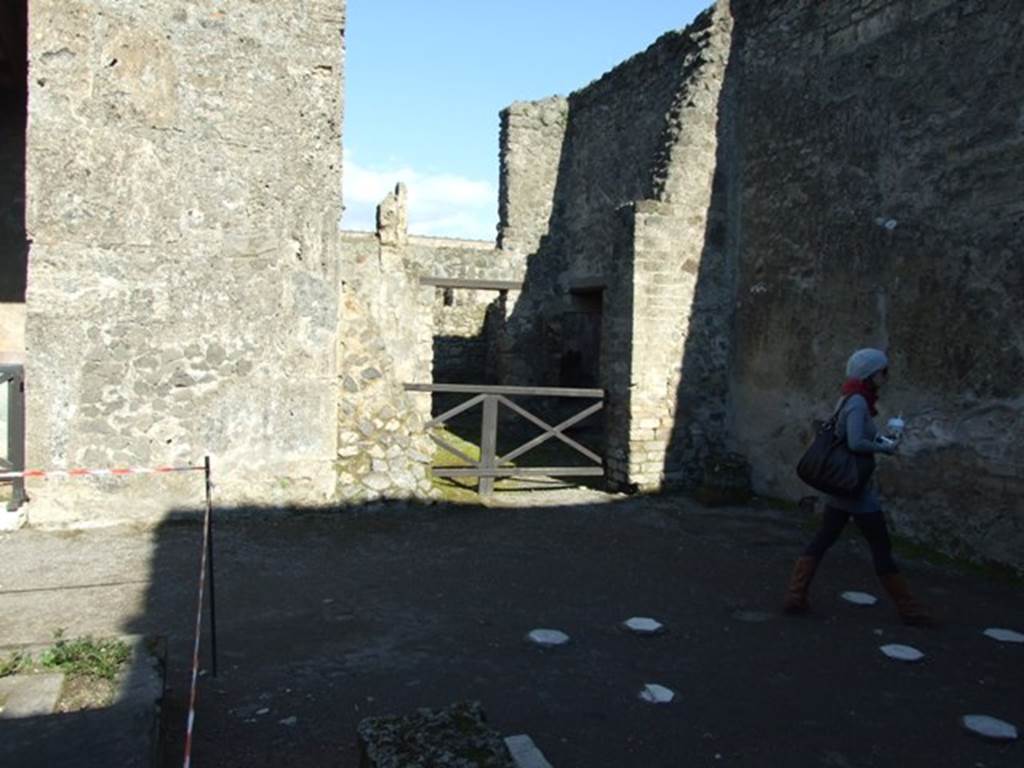
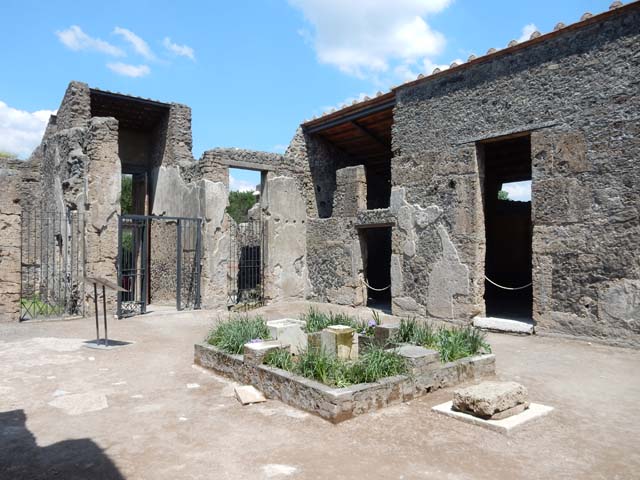
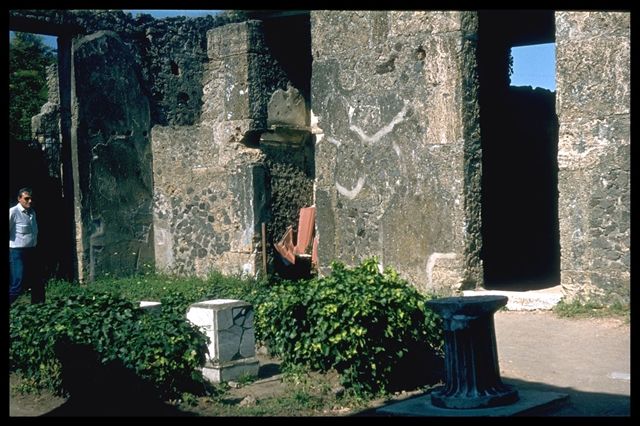
II.2.2 Pompeii. March 2009. Looking south-east across atrium, to rooms 3, “c” and 5.
Room 5, Room in south east corner of atrium.

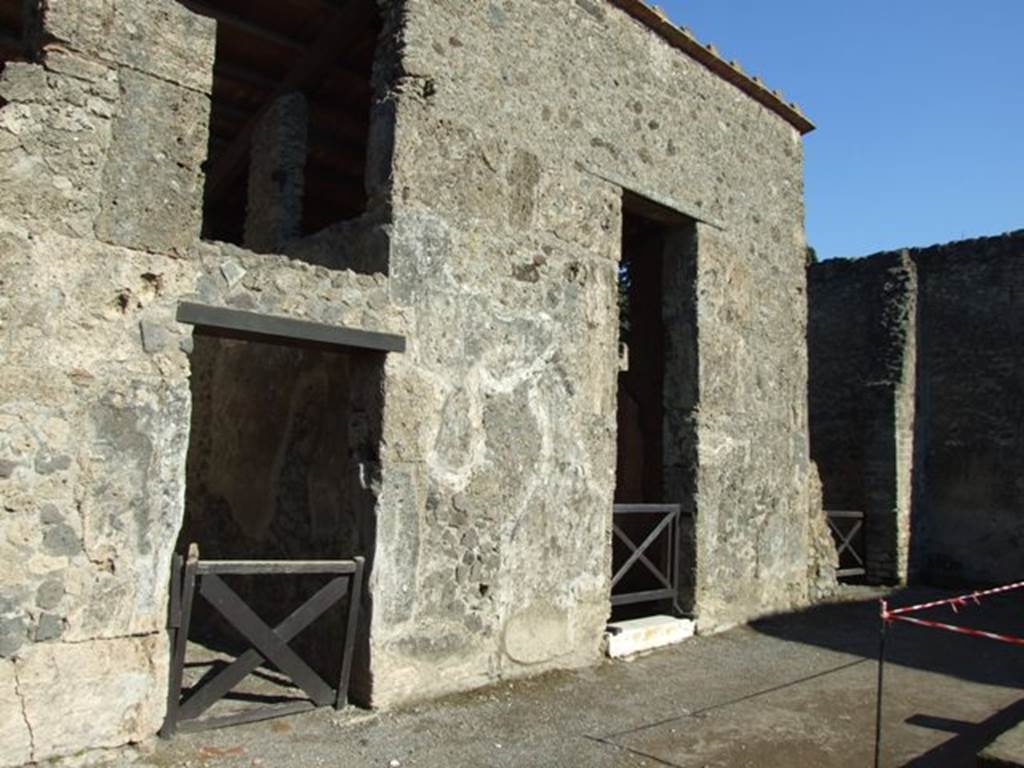
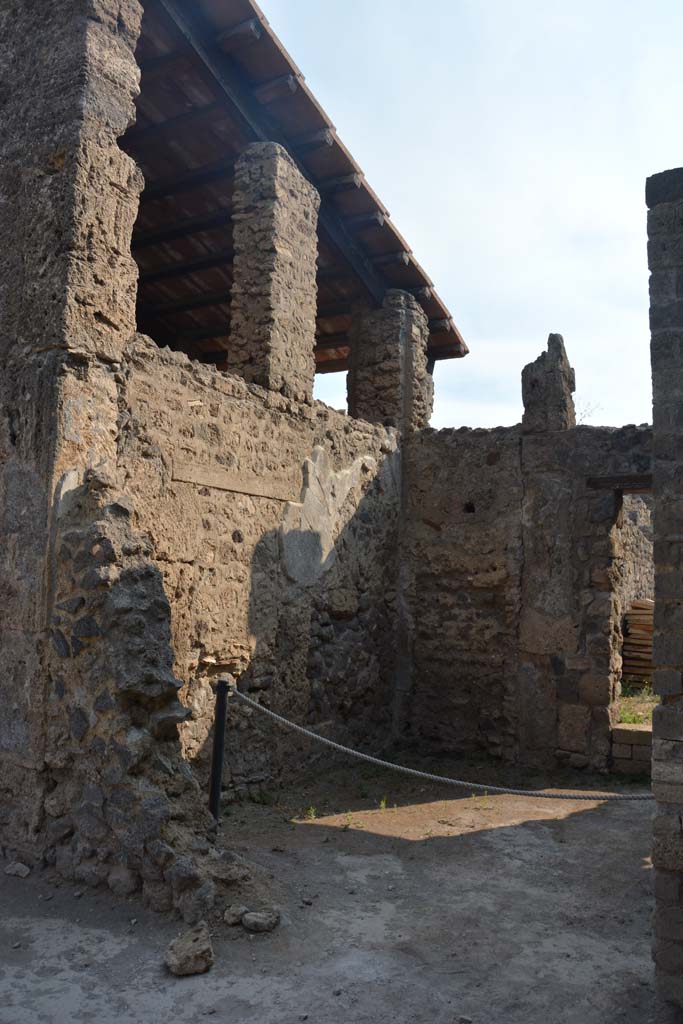
II.2.2 Pompeii. July 2017. Looking north-east across towards east
side of atrium, room 2, with room 5, on right.
Foto Annette Haug, ERC Grant 681269 DÉCOR.

II.2.2 Pompeii. May 2016. Looking north along east side of atrium 2 with room 5, on right. Photo courtesy of Buzz Ferebee.
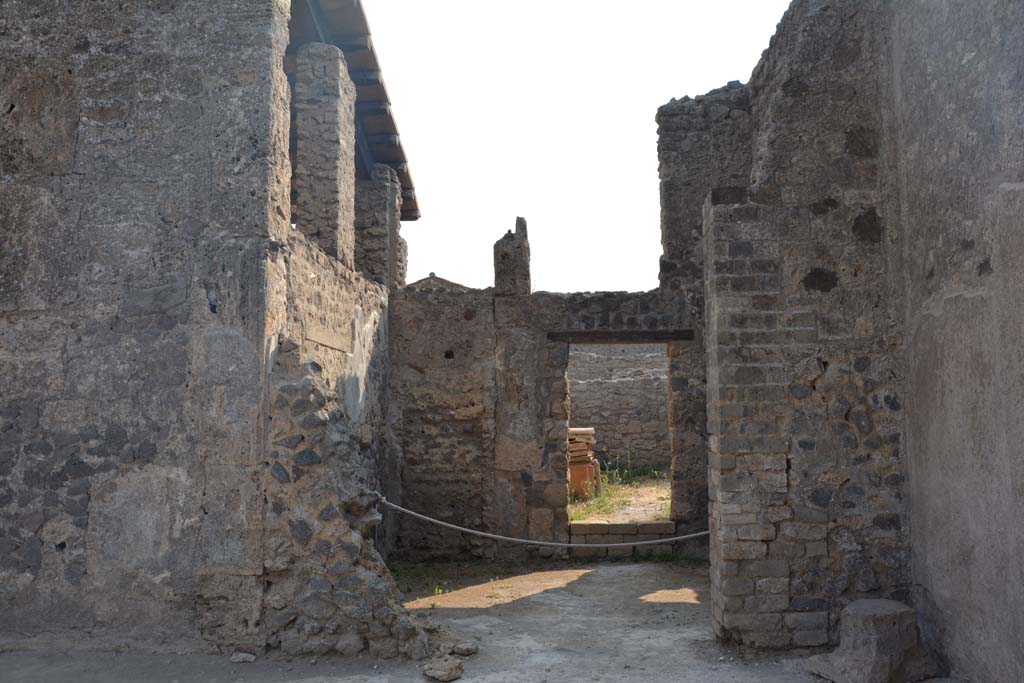
II.2.2 Pompeii. July 2017. Looking east across atrium 2, towards
doorway to room 5, in centre.
Foto Annette Haug, ERC Grant 681269 DÉCOR.
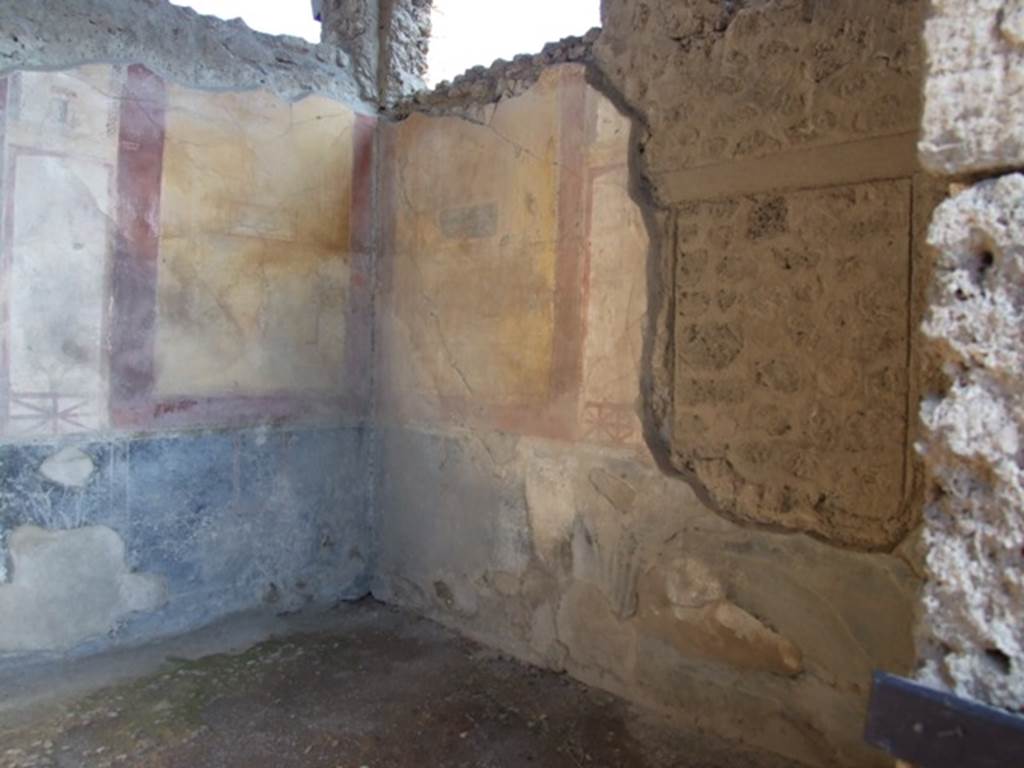
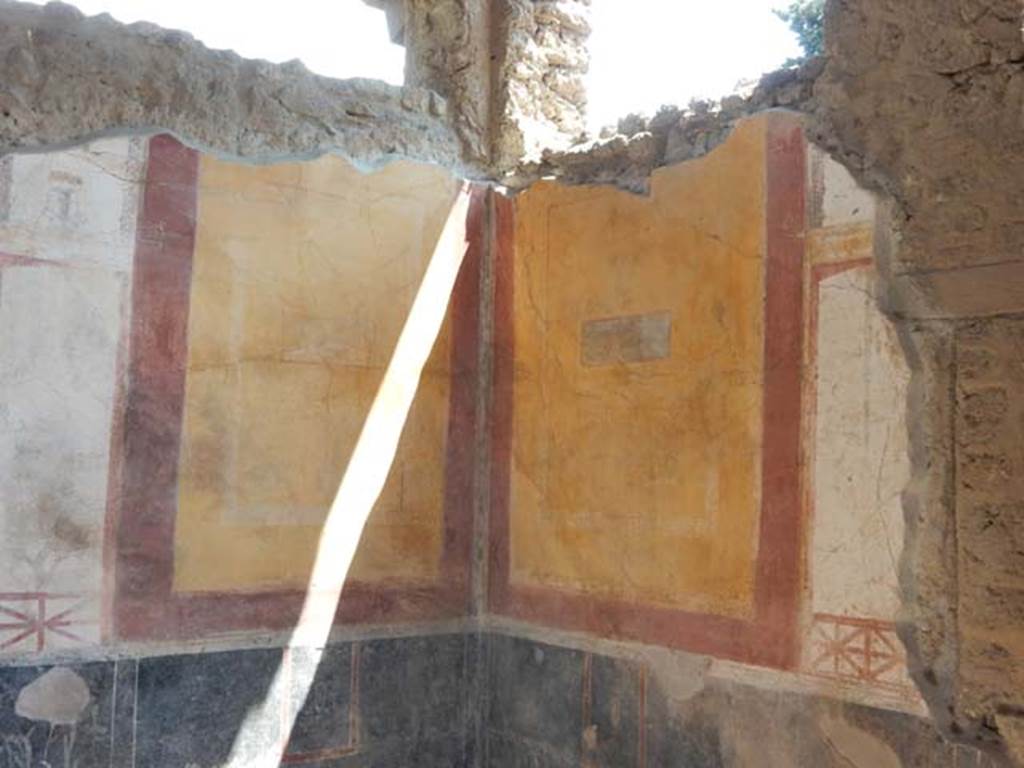
II.2.2 Pompeii. July 2017. Room 5, on east side of atrium.
Foto Annette Haug, ERC Grant 681269 DÉCOR.
II.2.2 Pompeii. May 2016. Room 5, looking east. Photo courtesy of Buzz Ferebee.

II.2.2 Pompeii. July 2017. Room 5, looking north-east from atrium
2.
Foto Annette Haug, ERC Grant 681269 DÉCOR.
II.2.2 Pompeii. May 2016. Room 5, north-east corner. Photo courtesy of Buzz Ferebee.
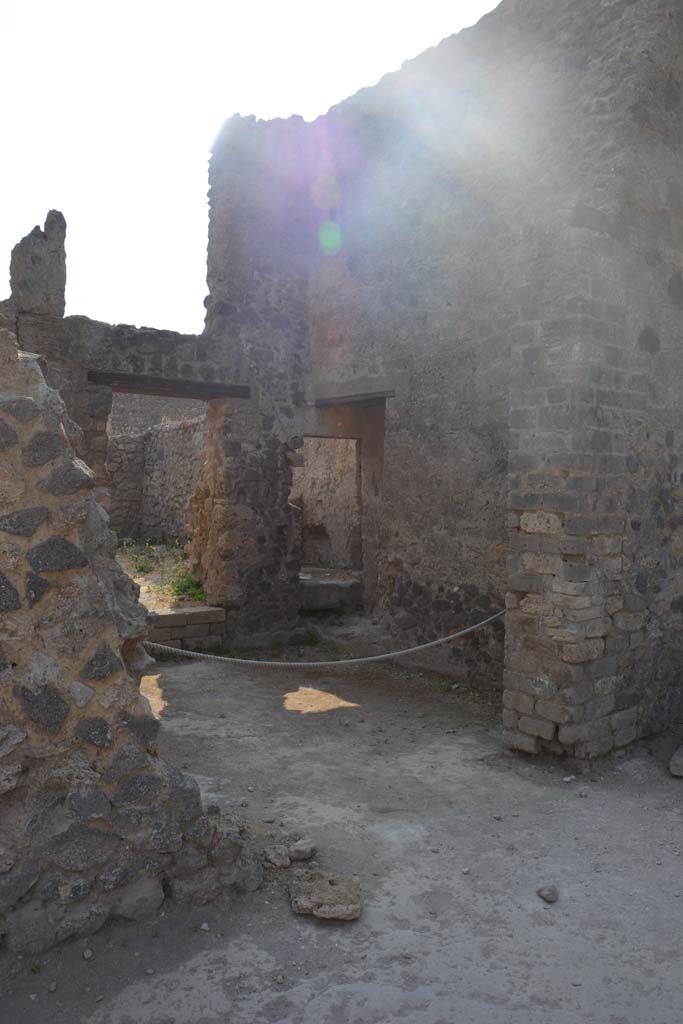
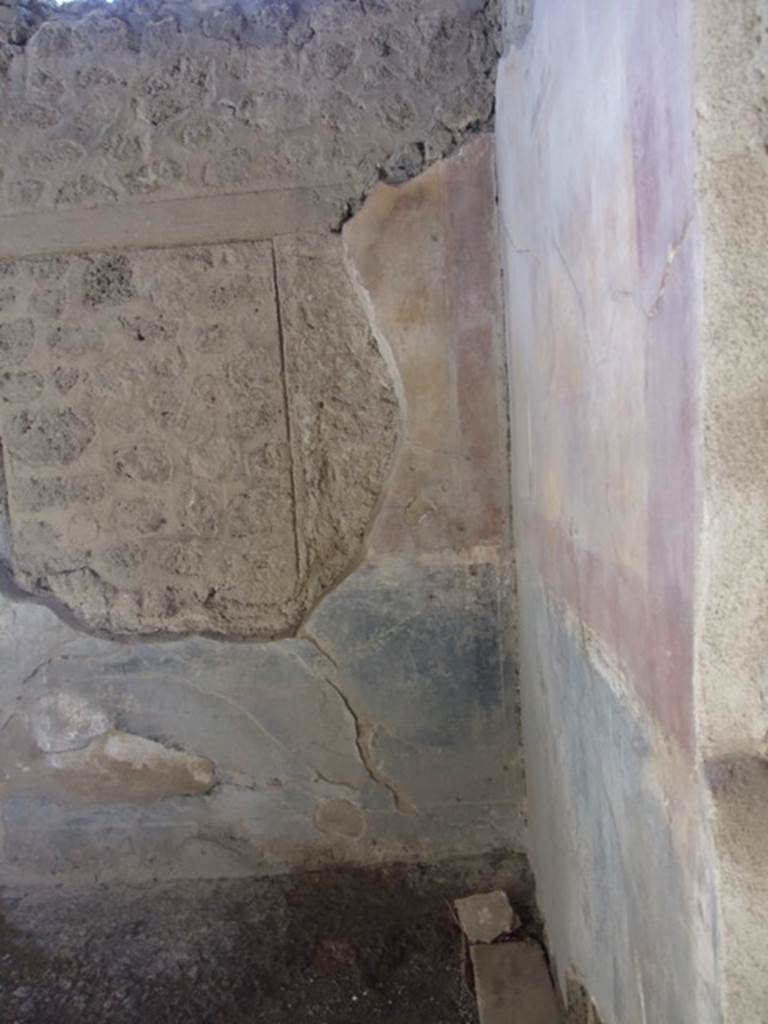
II.2.2 Pompeii. July 2017. Room 5, looking south-east from atrium
2.
Foto Annette Haug, ERC Grant 681269 DÉCOR.

II.2.2 Pompeii. May 2016. Room 5, south-east corner with small doorway to latrine. Photo courtesy of Buzz Ferebee.
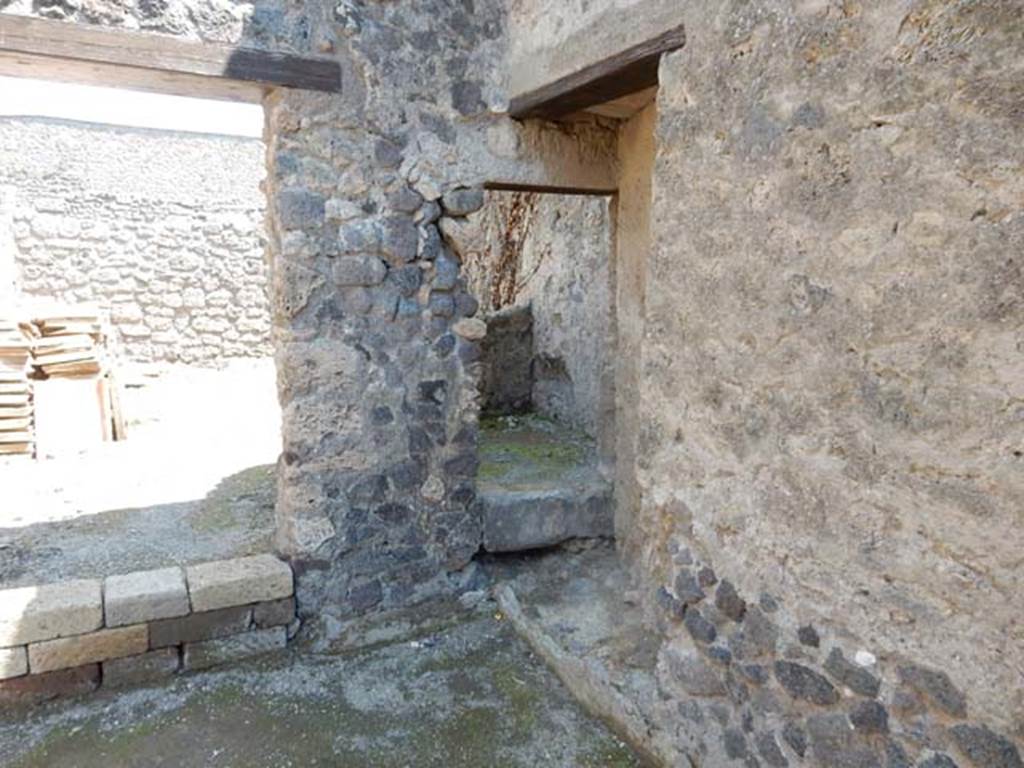
II.2.2 Pompeii. December 2005. Room 5, in south-east corner of atrium.
Room 6, latrine?
II.2.2 Pompeii. May 2016. Room 5, south-east corner with small doorway to latrine 6. Photo courtesy of Buzz Ferebee.
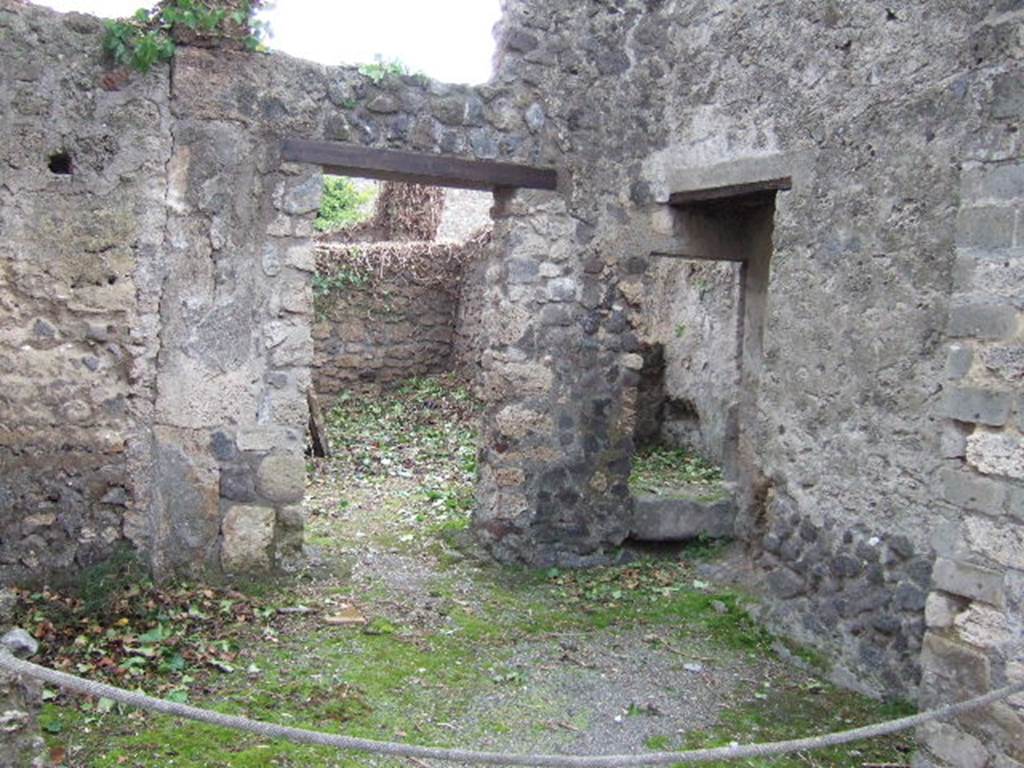
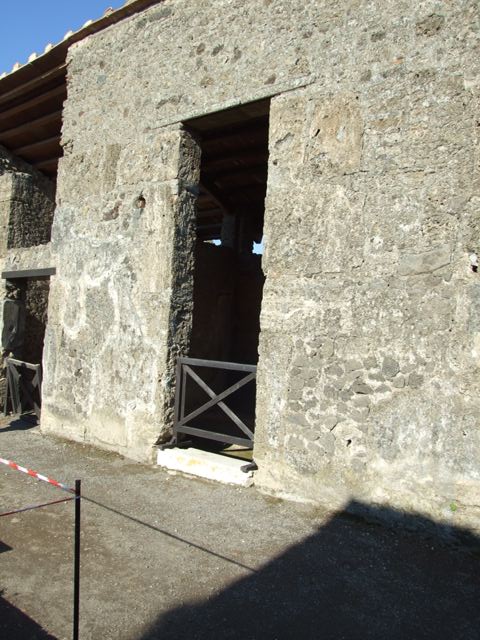
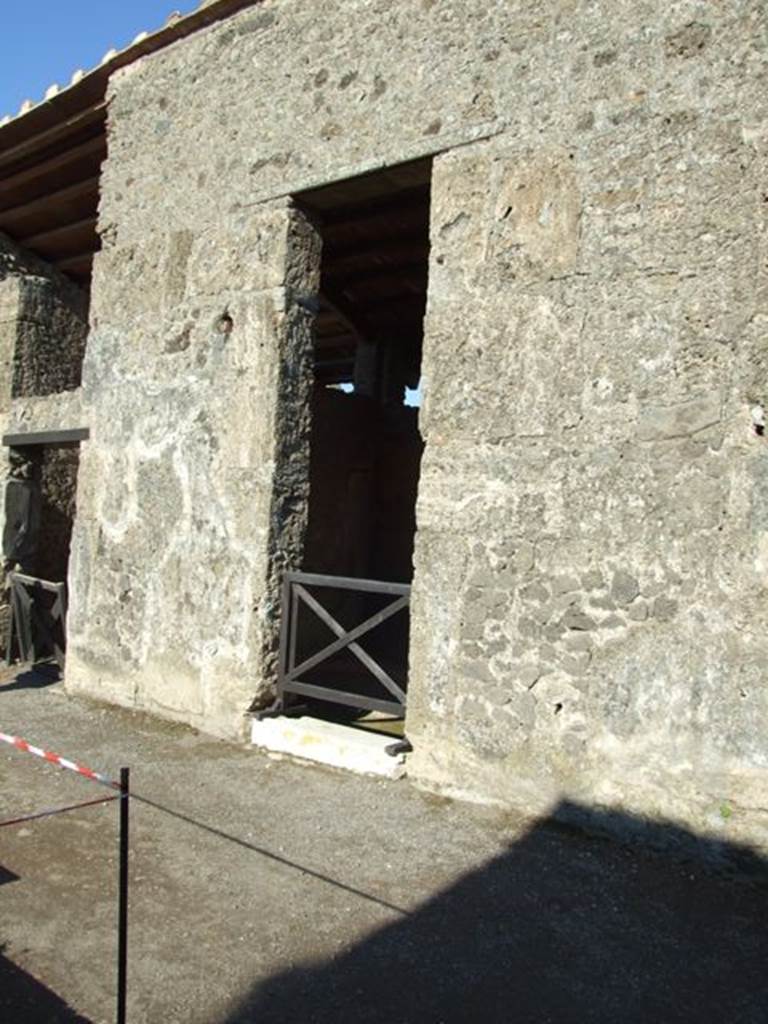
II.2.2 Pompeii. March 2009. Doorway to small room 6 in room 5, a latrine?

II.2.2 Pompeii. March 2009. Small room 6. Latrine?
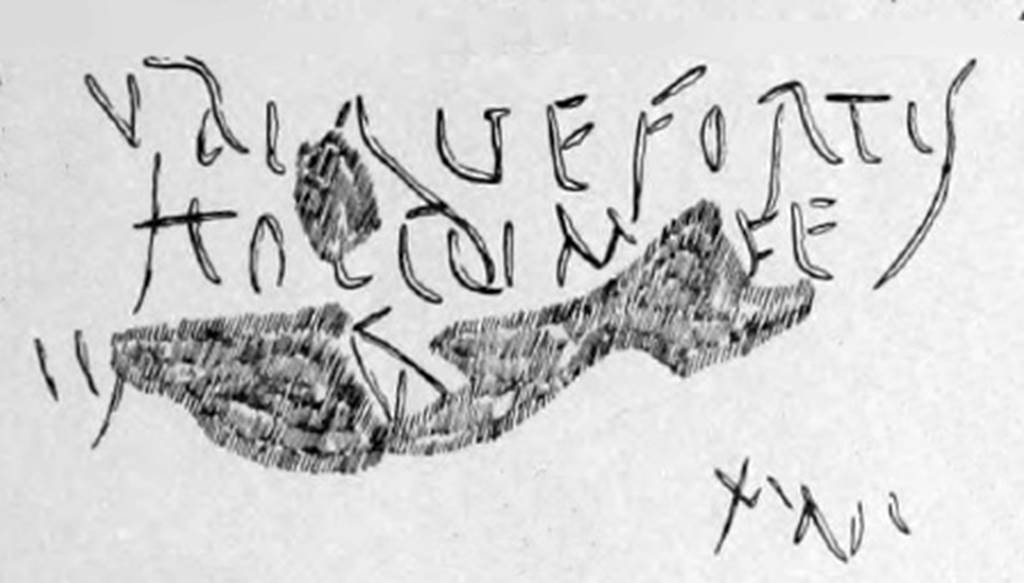
![II.2.2 Pompeii. July to August 1919. Small room 6, latrine?
According to Della Corte,
Sulla nuda malta, a sinistra della latrina sul lato orientale dell'atrio, era graffito il titoletto:
(On the bare mortar, to the left of the latrine on the eastern side of the atrium, was graffiti entitled:)
ubique fortis
hoc cum fe • • •
[m?] i [nis?] • • •a
e, più giù, il numero XVVI (?)
See Notizie degli Scavi di Antichità, 1927, p. 110, Tav. XII, n. 113.](2%2002%2002%20p4_files/image026.jpg)
II.2.2 Pompeii. July to August 1919. Small room 6, latrine?
According to Della Corte,
Sulla nuda malta,
a sinistra della latrina sul lato orientale dell'atrio, era graffito il
titoletto:
(On the bare mortar, to the left of the latrine on the
eastern side of the atrium, was graffiti entitled:)
ubique
fortis
hoc cum fe
• • •
[m?] i
[nis?] • • •a
e, più giù, il
numero XVVI (?)
See Notizie degli Scavi di Antichità, 1927, p. 110, Tav. XII, n. 113.
Room 7, room behind room 5.
II.2.2 Pompeii. May 2016. Room 7 at rear of room 5, with room 6 to right. Photo courtesy of Buzz Ferebee.
II.2.2 Pompeii. December 2005. Room 7, behind room 5 in south-east corner of atrium.
II.2.2 Pompeii. May 2016. Room 7, left, with small doorway to latrine 6, right. Photo courtesy of Buzz Ferebee.
II.2.2 Pompeii. May 2016. East side of atrium, with doorways to rooms 3, “c” and 5, on right. Photo courtesy of Buzz Ferebee.

II.2.2 Pompeii. December 2005.
Room 5 in south-east corner (on right) and room “c” (on left) with marble threshold, on east side of atrium.

II.2.2 Pompeii. March 2024.
Looking north-east across atrium, with doorway to room “c”, on right. Photo courtesy of Giuseppe Ciaramella.
II.2.2 Pompeii. May 2016. Room 2, looking north-east across atrium. Photo courtesy of Buzz Ferebee.
II.2.2 Pompeii. Looking north-east across atrium towards rooms “c” and 3 and doorway to II.2.3.
Photographed 1970-79 by Günther Einhorn, picture courtesy of his son Ralf Einhorn.
Room “c”, triclinium.
II.2.2 Pompeii. March 2009. Doorway to room “c”, triclinium, on east side of atrium.
II.2.2 Pompeii. January 2017. Room “c”, looking through entrance
doorway towards east wall.
Foto Annette Haug, ERC Grant 681269 DÉCOR.
II.2.2 Pompeii. March 2009. Room “c”, north-west corner.

II.2.2 Pompeii. January 2017. Room “c”, north wall and north-east
corner.
Foto Annette Haug, ERC Grant 681269 DÉCOR.
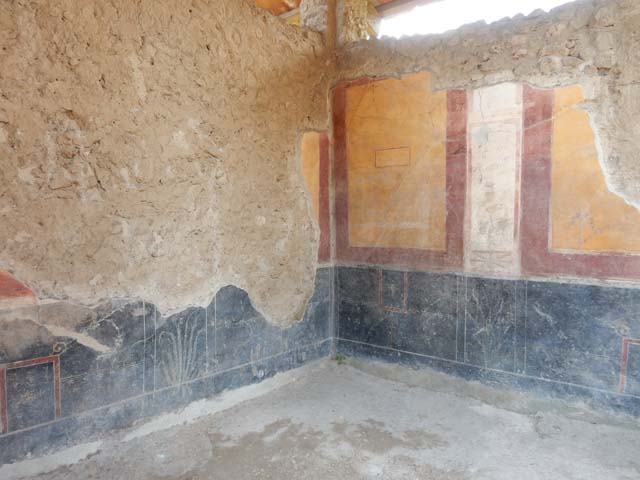
II.2.2 Pompeii. May 2016.
Room “c”, looking towards north wall and north-east corner of triclinium. Photo courtesy of Buzz Ferebee.
II.2.2 Pompeii. March 2009. Room “c”, north wall and north-east corner.
II.2.2 Pompeii. March 2009. Room “c”, north-east corner.

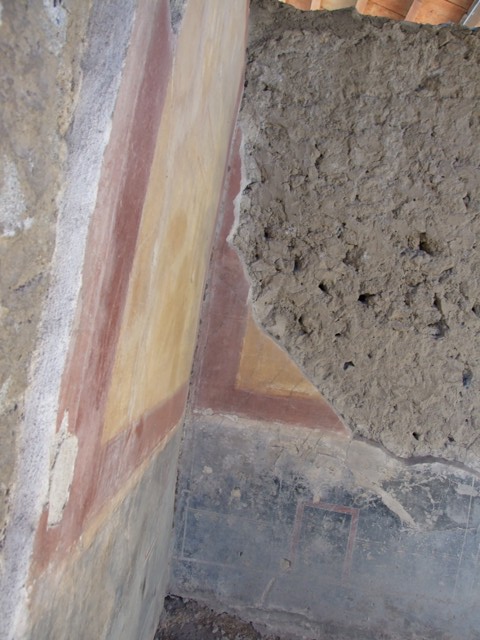
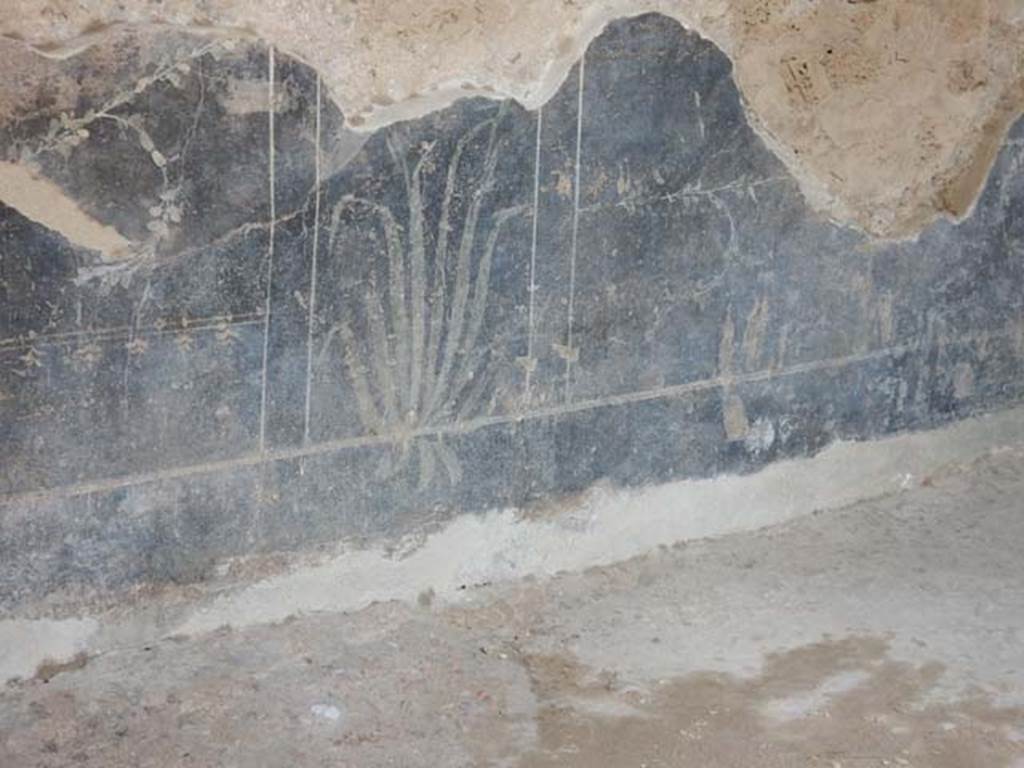
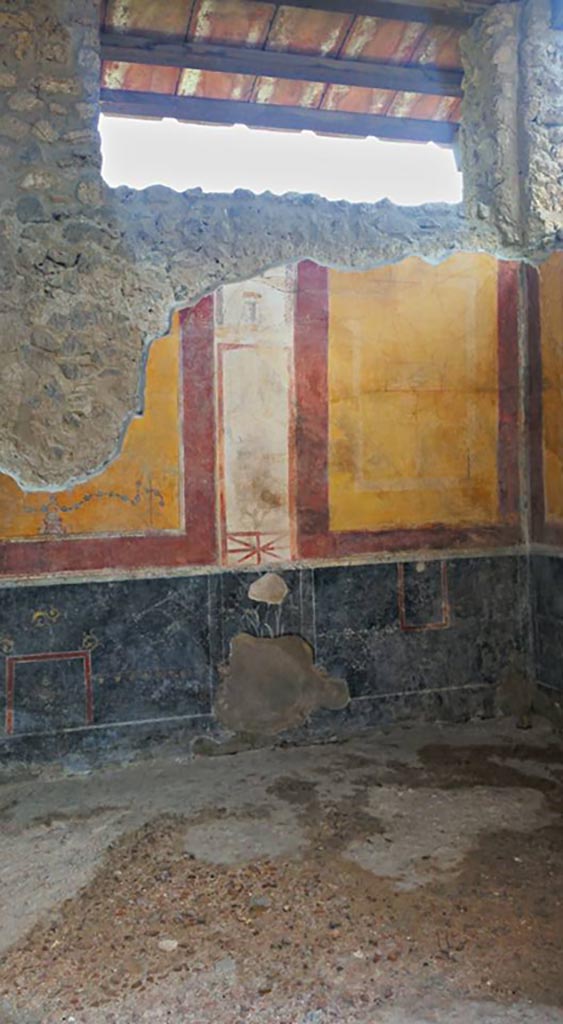
II.2.2 Pompeii. May 2016. Room “c”, detail of painted plant on zoccolo of north wall of triclinium. Photo courtesy of Buzz Ferebee.
II.2.2 Pompeii. August 2021. Room “c”, looking
towards east wall. Photo
courtesy of Robert Hanson.
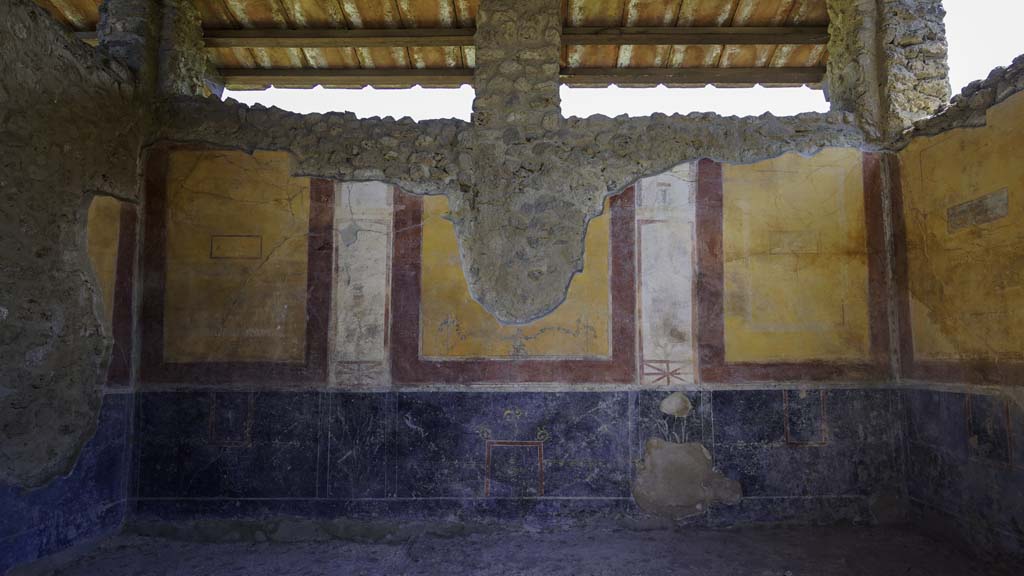
II.2.2
Pompeii. January 2017. Room “c”, looking towards east wall.
Foto
Annette Haug, ERC Grant 681269 DÉCOR.
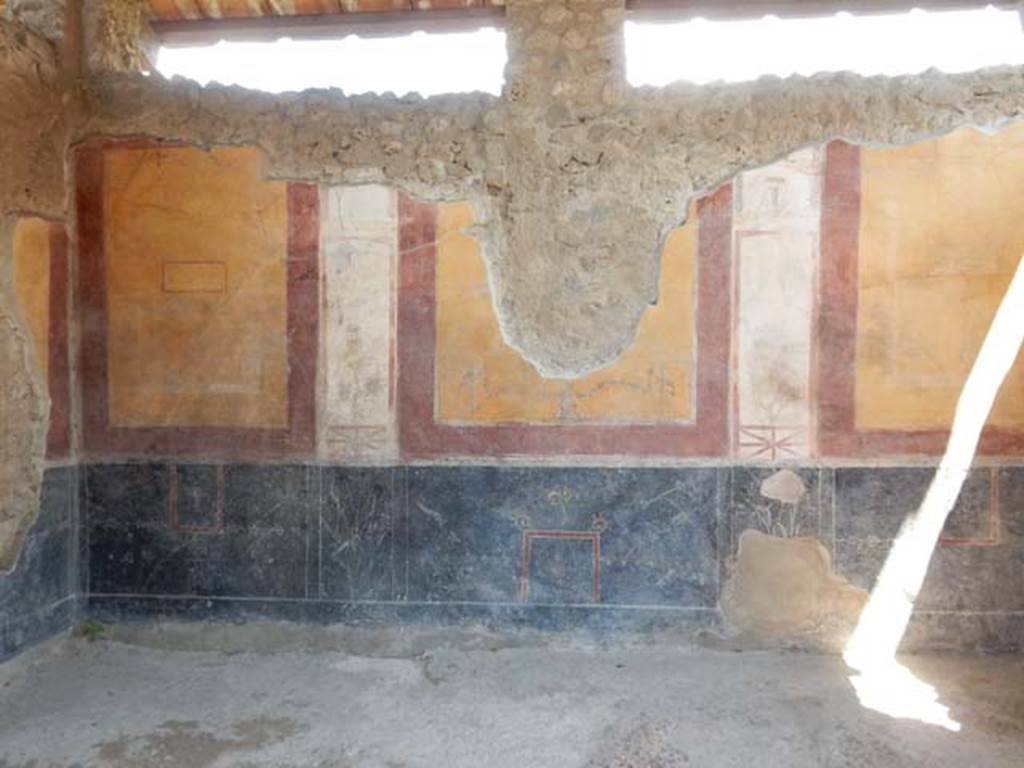
II.2.2 Pompeii. May 2016. Room “c”, east wall. Photo courtesy of Buzz Ferebee.
II.2.2 Pompeii. December 2005. Room “c”, east wall of triclinium.

II.2.2 Pompeii. March 2009. Room “c”, painted panel from north end of east wall.
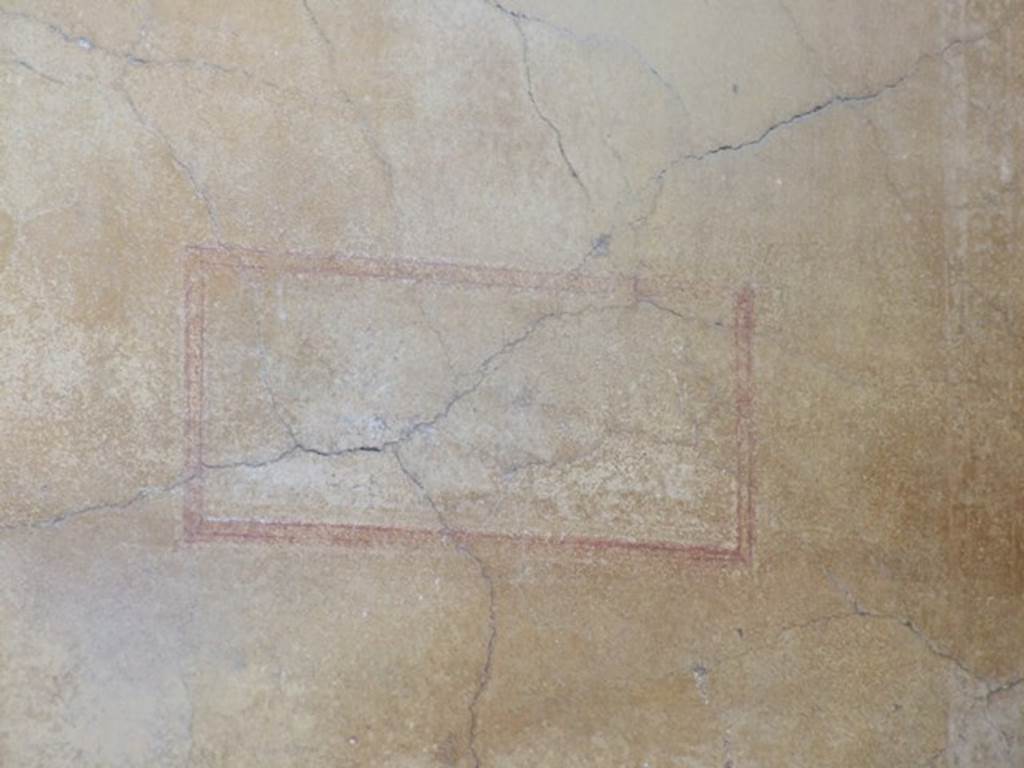
II.2.2 Pompeii. March 2009. Room “c”, painted panel from south end of east wall.
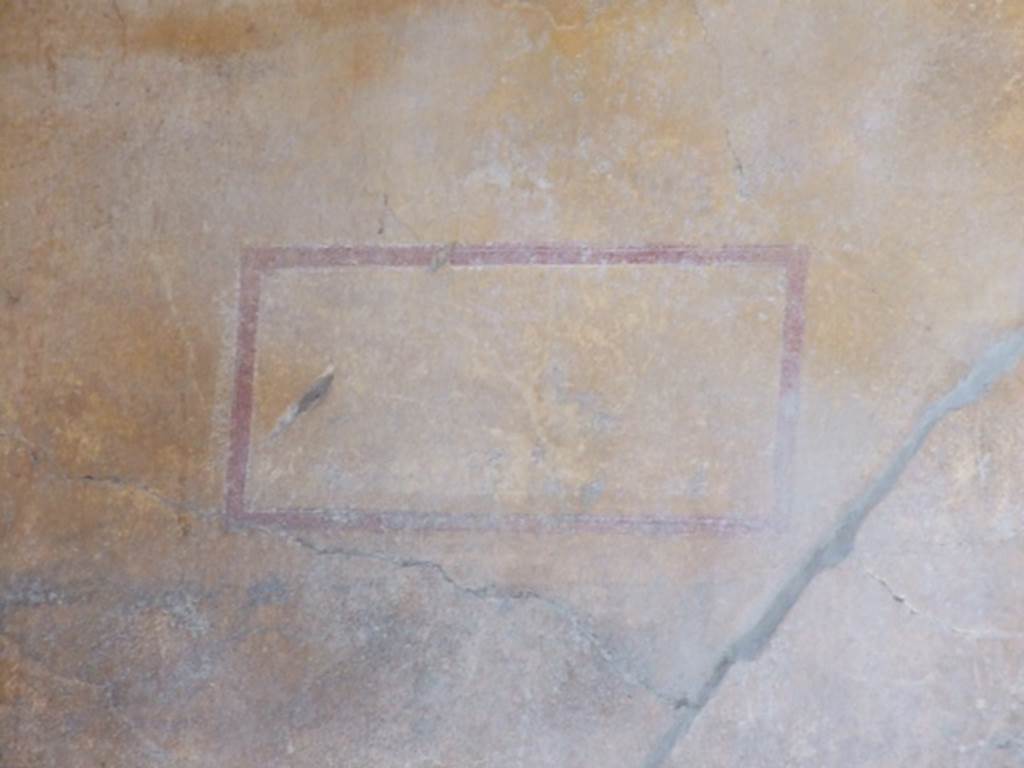
Room “c”, south end
of east wall. Photo courtesy of Giuseppe Ciaramella.

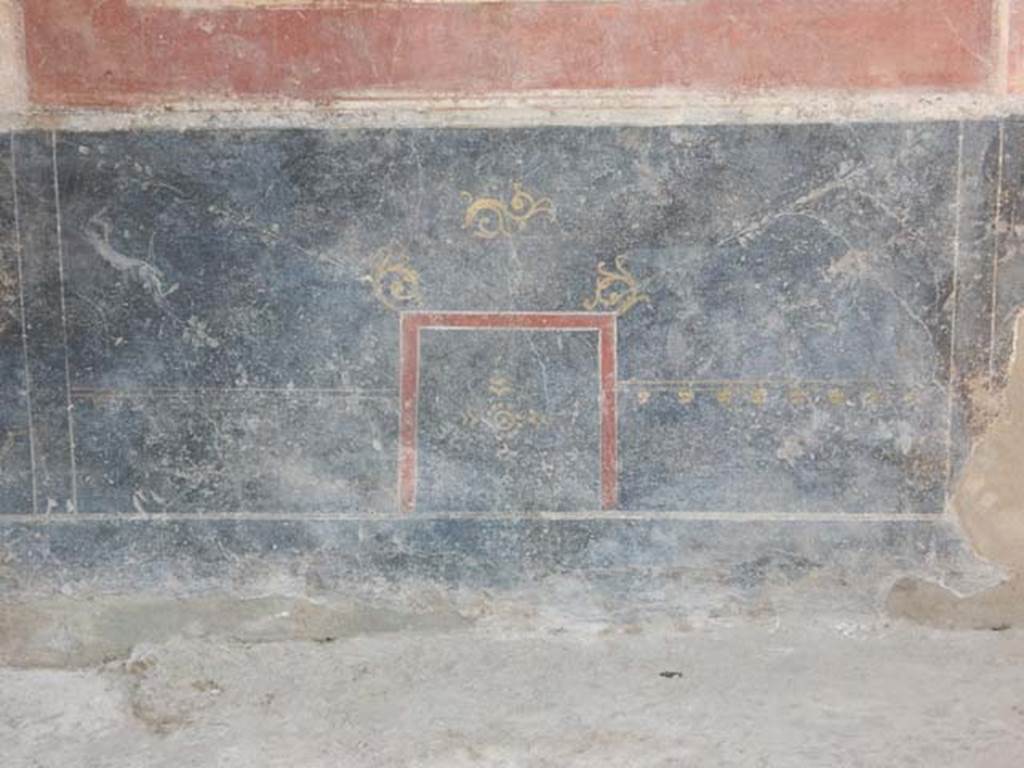
II.2.2 Pompeii. May 2016. Room “c”, detail of painted zoccolo from east wall of triclinium. Photo courtesy of Buzz Ferebee.
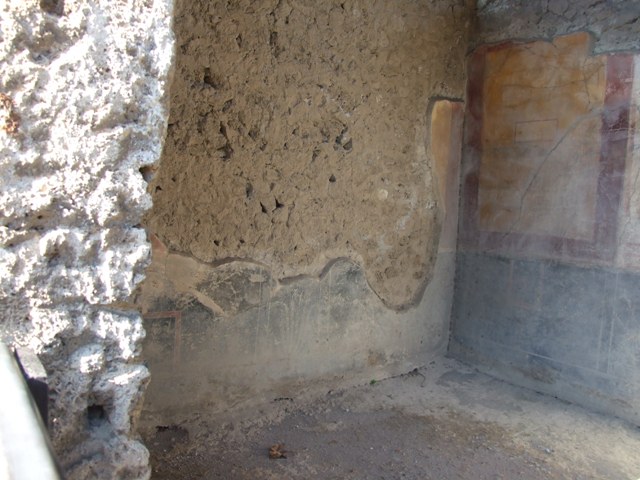
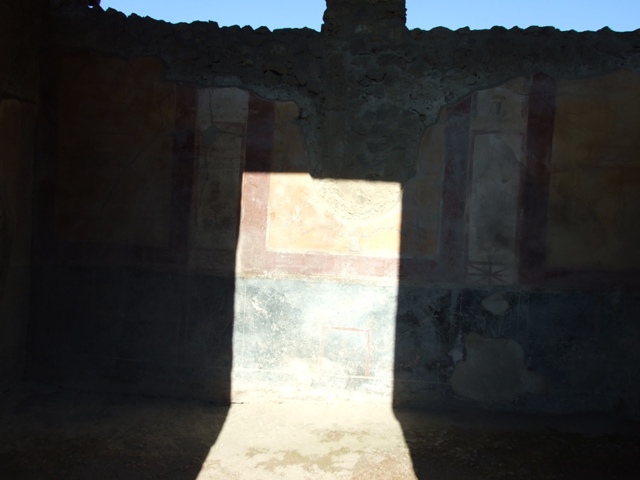
II.2.2 Pompeii. January 2017. Room “c”, looking towards south-east
corner.
Foto Annette Haug, ERC Grant 681269 DÉCOR.
II.2.2 Pompeii. May 2016. Room “c”, south-east corner of triclinium. Photo courtesy of Buzz Ferebee.
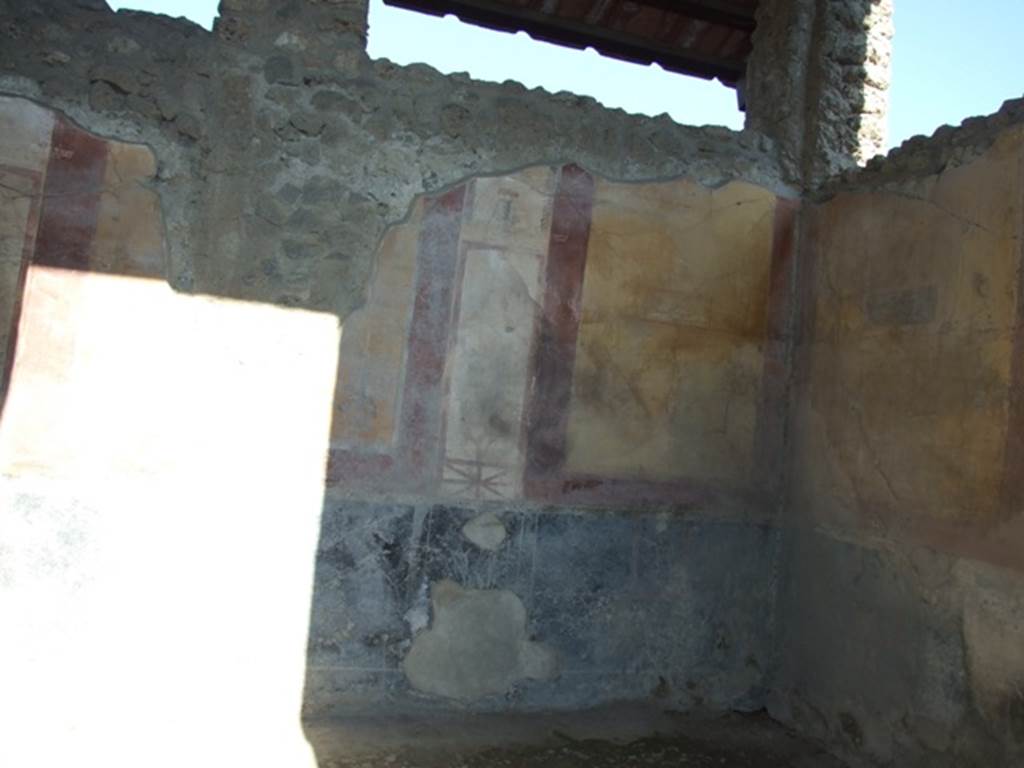
II.2.2 Pompeii. March 2009. Room “c”, south-east corner.
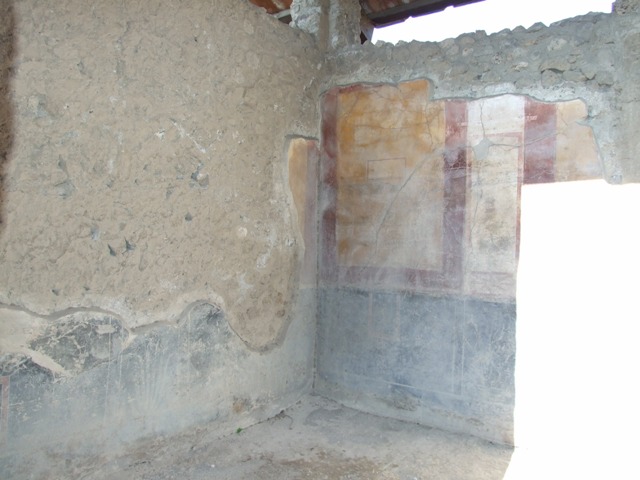
II.2.2 Pompeii. March 2009. Room “c”, south-east corner, and south wall.
II.2.2 Pompeii. May 2016.
Room “c”, south-east corner with remains of painted panel at east end of south wall. Photo courtesy of Buzz Ferebee.
II.2.2 Pompeii. March 2009. Room “c”, painted panel on south wall.
II.2.2 Pompeii. March 2009. Room “c”, south-west corner.
Part 1 2 3 4 5 6 7 8 9 10 11 12 13 Plan